Chalk Paint sounded to me like a type of paint made from chalk but actually it was named by its creator, Annie Sloan. It is simply paint that appears chalky when it is applied to a surface. It comes is an array of pretty colors but what you see here is far from what it can turn out to be.
The idea of creating something new out of something old has always inspired me, so chalk paint is right up my alley. When a designer friend introduced me to TLC Design Studio I was in heaven. As I stepped inside I was delighted to see so many ways Jeanne Hall and her staff had given thrift shop finds a new life.
 |
| Of course you can paint a wood chair frame but did you know you can paint the fabric too? Once it is dry simply sand it to soften the texture. It takes on the feeling of suede. |
 |
| An old buffet takes on a new look with base of Louis Blue under a Pure White glaze, even on the drawer pulls. |
 |
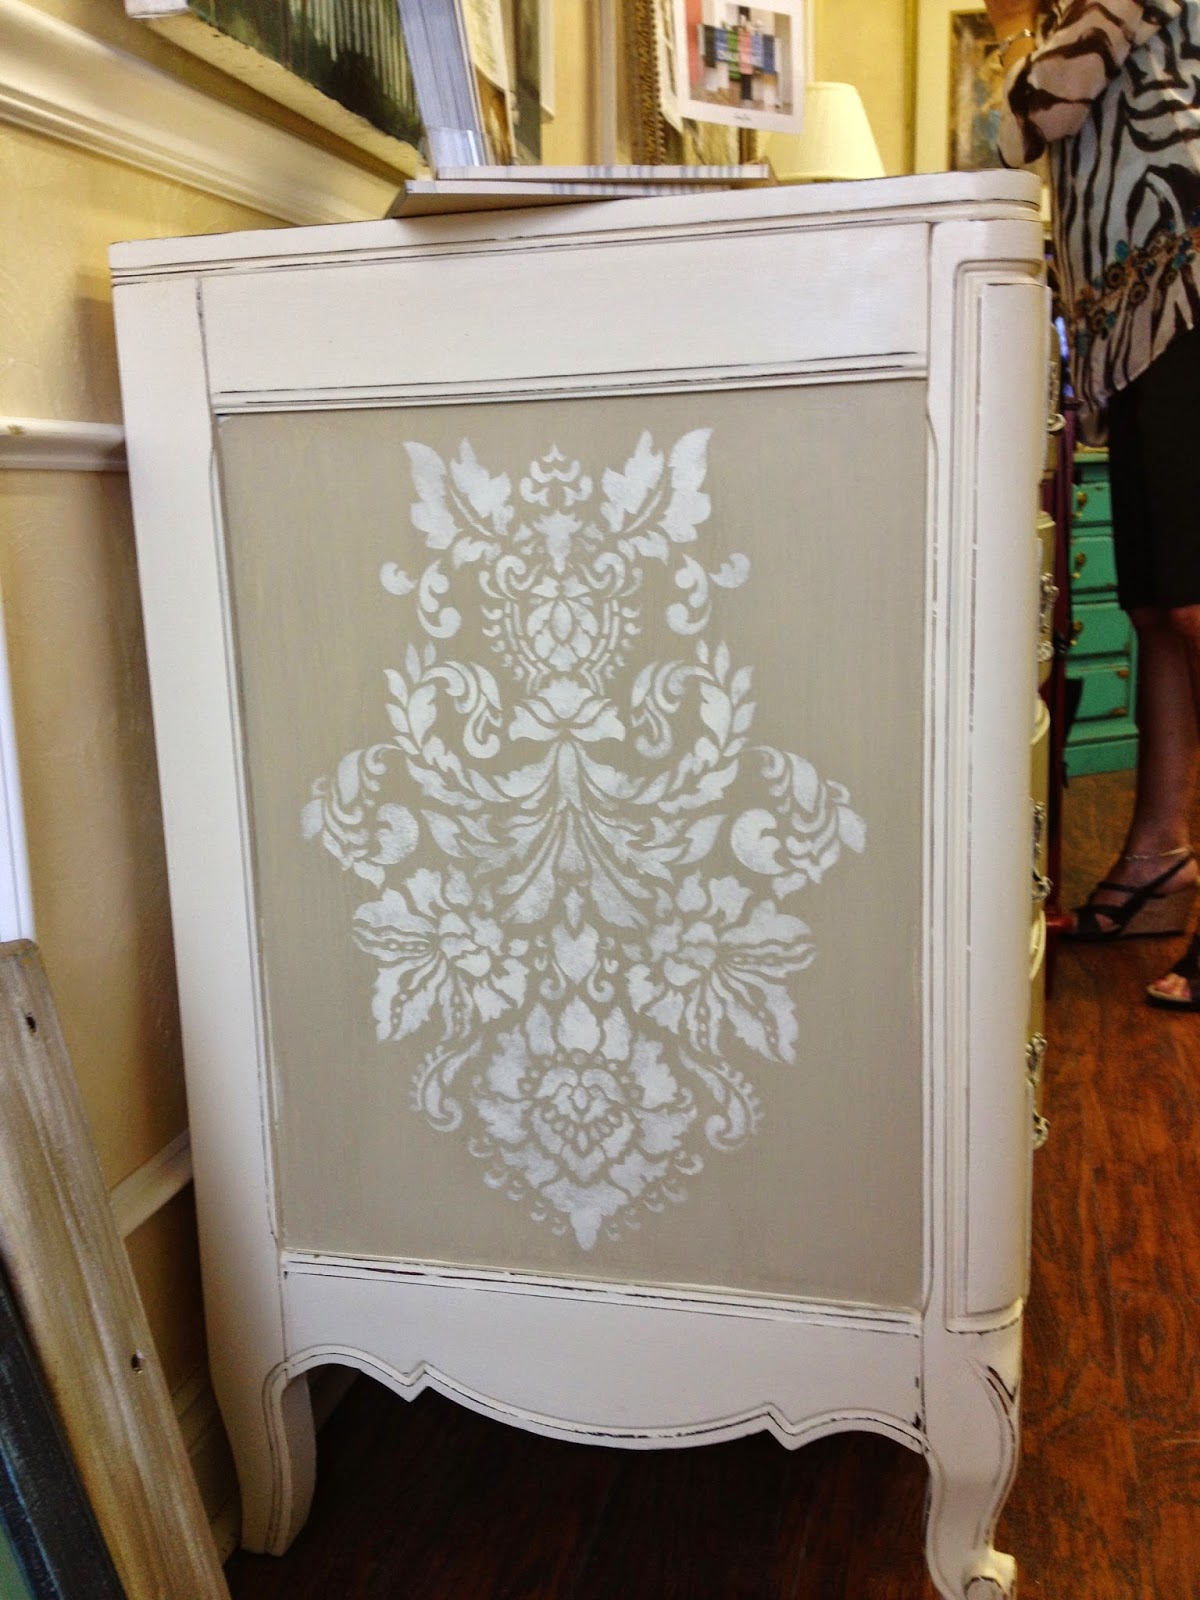
| Stenciling over chalk paint is easy and adds a pretty detail to this chest. |
 |
| Here chalk paint that has been sanded off reveals a beautiful detail on an old sofa frame. |
 |
| A pair of old night stands gets a fun makeover. Look at the contrasting color they painted in the drawers. I might have to steal that idea! |
 |
| A silver Guilder's Paste brightens up the decorative hardware on these drawers that were painted in two colors and dark waxed. Changing the color or finish on cabinet hardware is such a great idea. |
This old dresser was in the process of being painted. The first coat was washed with a lighter color which was wiped off. Then a coat of clear wax was applied and wiped down followed by a coat of dark wax which was also wiped off and then buffed, leaving a dark build up in the carvings to bring out the detail. This technique is easy on a small piece but labor intensive on something this large.
As I looked around I became so motivated to paint a few things of my own. Lucky for me Jeanne gives classes right there in the studio. A few of my designer friends and I signed up.
 |
| We start our first sample on a piece of picture frame. Jeanne demonstrates a dry brush technique we will use when we do our finishing coat. |
 |
| When you dry brush you drag a lightly loaded brush and drag softly over the surface. |
 |
| Who knew that hair dryers were part of a painter's tool kit? |
 |
| You can also tint clear wax with paint. |
 |
| Here we started with Duck Egg and a second dry brush coat of Old White with clear wax on top. One side got a dark wax too. Which side do you like best? The right side is decided more "aged". |
Here are a few more examples of the different ways Chalk Paint can be used.
Stenciling over a painted surface becomes even more interesting, adding detail and depth.
You can use an impasto technique with a stencil giving a three dimensional effect like you see below.
A close up reveals a heavy coat of paint that was manipulated to create a pattern, then stenciled, dark waxed and buffed. Now you can see the crackle!
 |
| Want to do something with old shutters? Here they have been repurposed for the front of a counter/bar. |
 |
| You might think this is an antique door panel but no. It was once the top of a small table. Nice thrift shop flip! |
All you need is an old treasure that needs a little TLC, a can of Chalk Paint, a bit of wax, a few brushes and your imagination!
My first project is going to be my old secretary desk. I have been cutting out pictures of different of finishes I like and color combinations. What do you think I should do? French Linen? Duck Egg Blue? Cream? Should I stencil? Crackle? Change the color of the hardware? What color do you like for the inside?
Let me know how you visualize this family treasure where my father used to pay our bills and write lengthy Letters to the Editor. I have the glass doors. Should I put them back on? I do not have the bonnet top, sad to say.
Happy Decorating!


No comments:
Post a Comment